
Checking the history of a printer to see what was printed can be somewhat difficult to monitor. As your toner level doesn’t convey how much the accessory has been used, you’ll need to enable logging within Windows 10. Here’s how.
Enable Logging for Recently Printed Documents
By default, your printed document history will be wiped after each document has finished printing. You can change this setting to enable you to see a list of your recently printed documents from the print queue for your printer.
You’ll need to change this setting for each printer you have installed.
Access Your Print Queue
To access your print queue, right-click the Windows Start menu button and select the “Settings” option. From here, click Devices > Printers & Scanners.
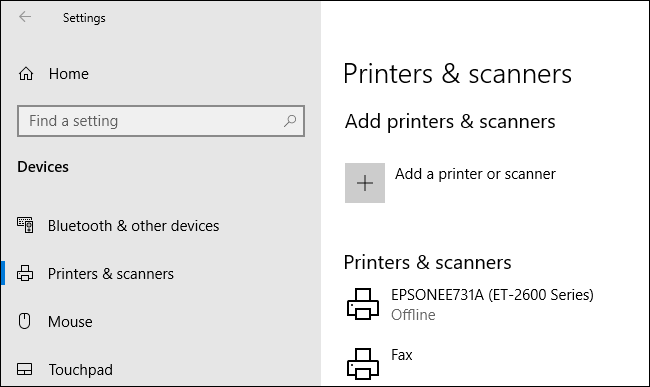
Find your printer in the “Printers & Scanners” list, click on it, and then click “Open Queue” to open the print queue.
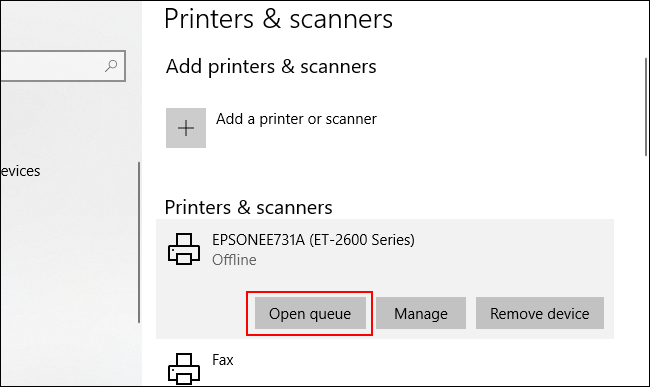
Your printer queue with current and queued printed items will be listed. Documents you’ve previously printed will not be shown, which is why you’ll need to enable logging.
Enable Printer History
Read the remaining 41 paragraphs
from How-To Geek https://ift.tt/2WQuveF
No comments:
Post a Comment